
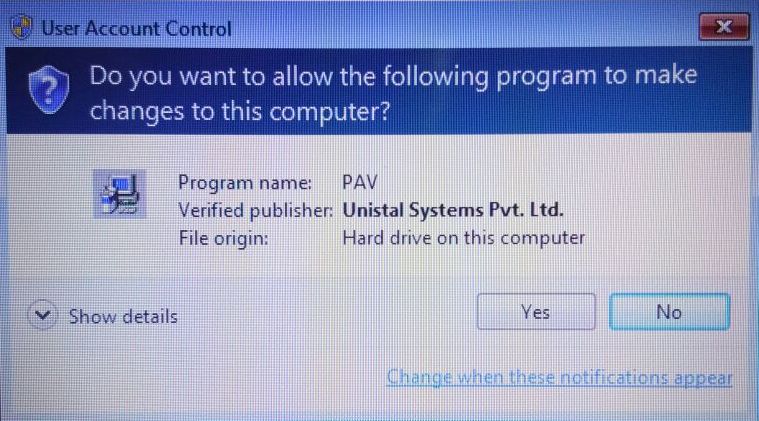
Step 1: Install by running the “ProtegentAV.exe” installation file by double clicking on it.
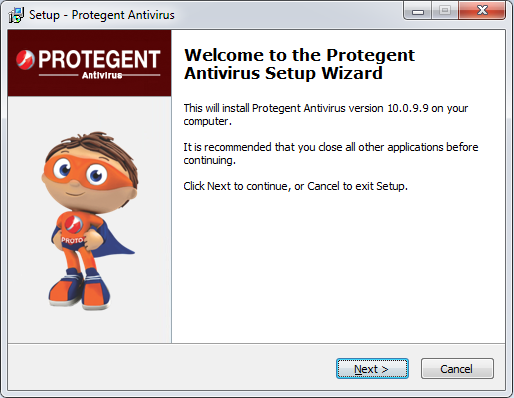
Step 2:Clicking “Yes” will take you to the PROTGENT ANTIVIRUS SOLUTION Setup screen:
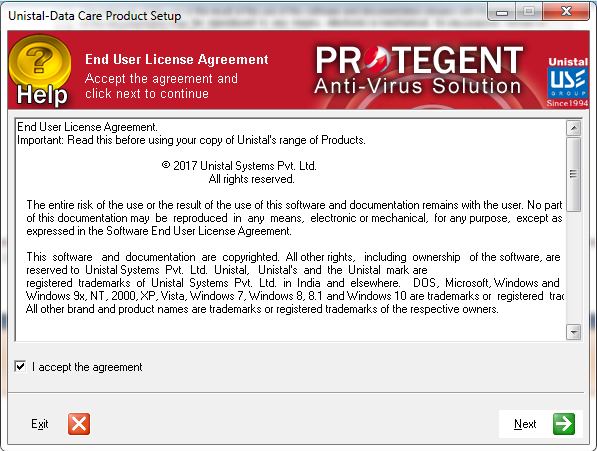
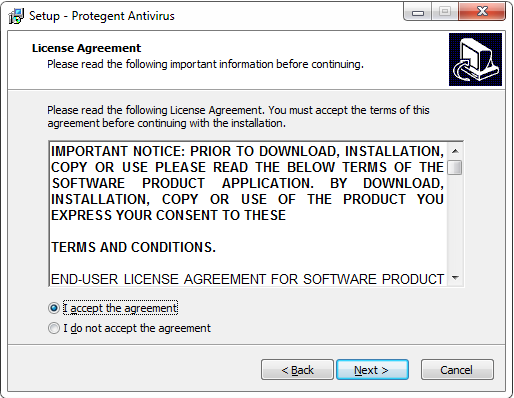
Step 3:Thereafter, an End User License Agreement window appears. User need to accept the agreement and click on Next.
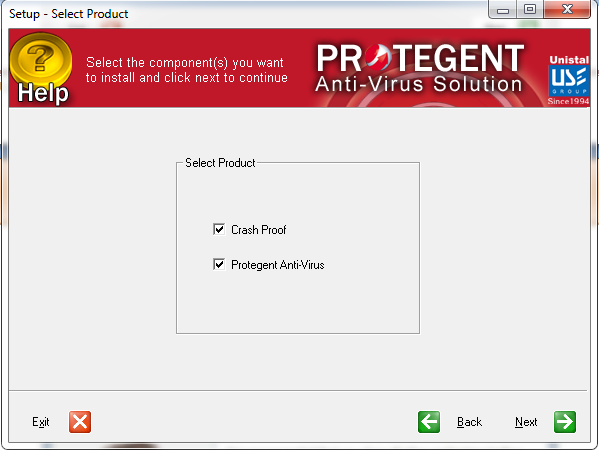
Step 4: Now a window will open which provides the user with an option to select the product components: Crash Proof & Protegent Anti-virus. Crash Proof is proactive data recovery software which recovers accidentally deleted data files.
Step 5: In the next windows, installation process of Crash Proof begins.
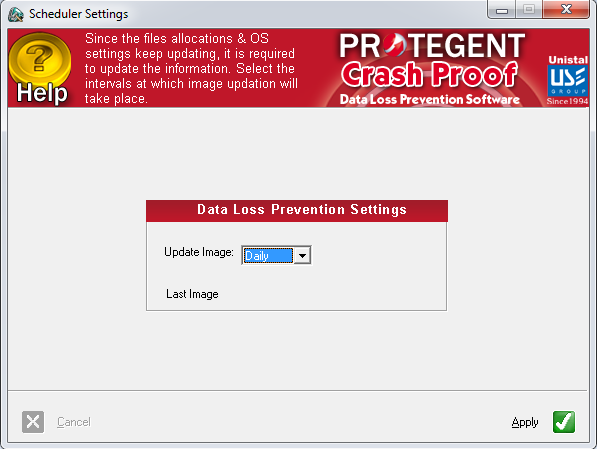
Step 6: Next comes Scheduler Settings window in which the user has to select the update image schedule between daily or 2 hours.(Recommended: Daily). Click on Apply.
Step7: Click “Next” and the installation Wizard will then guide you through the rest of the installation process.
Step 8: First you will be asked to read about the minimum system requirements and then confirm that you to agree to the end-user license conditions.
To continue, click on “I accept the agreement”, this enables “Next” for further steps.
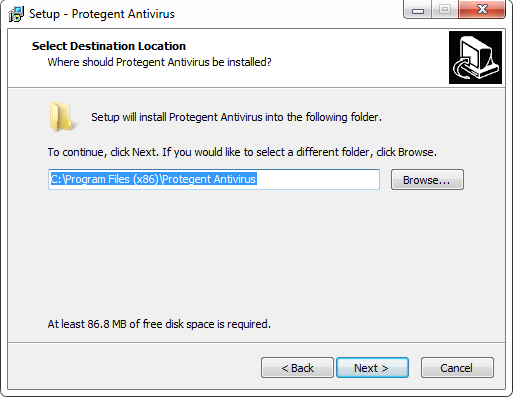
Step 9: Clicking on “Next” will navigate you to the destination selection window.
You will be asked to confirm the destination directory, i.e. where the program files will be saved. The program will select this automatically or will create a new directory if it doesn’t already exist. It is recommended to accept the default destination directory and simply click on “Next” to continue.
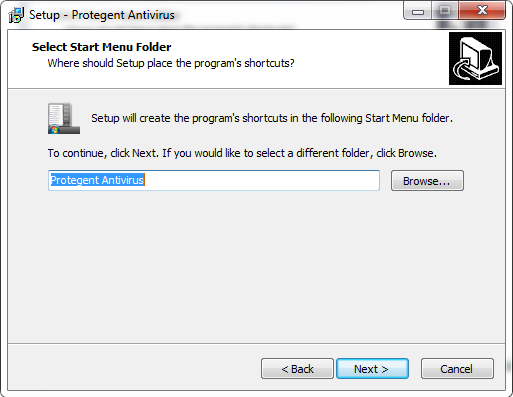
Step 10: It will take you to the “Select Start Menu folder” Window to place the program’s shortcuts. By default it will store in the “Protegent® Secure” folder, otherwise you can browse a different location. Click on “Next” to continue.
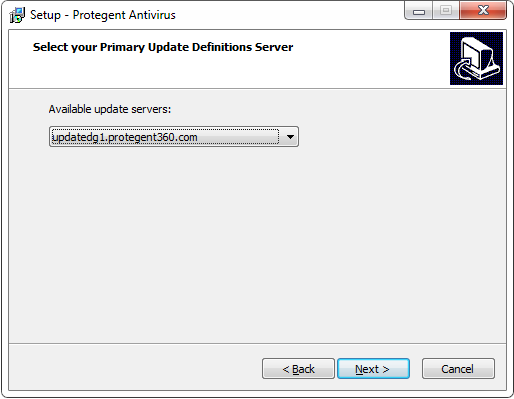
Step 11: Now select your “updatedg1.protegent360.com” as Primary Update Definitions Sever
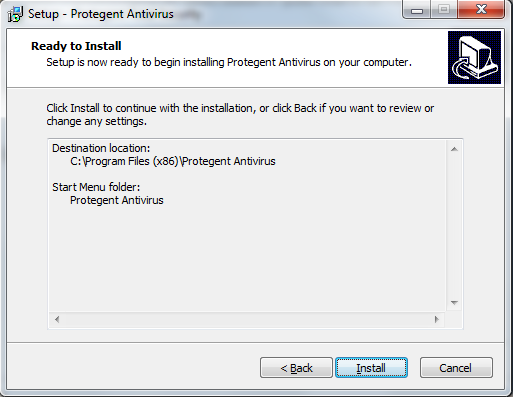
Step 12: Now the setup is ready to install the PROTGENT ANTIVIRUS SOLUTION. Click on “Install” for the installation process.
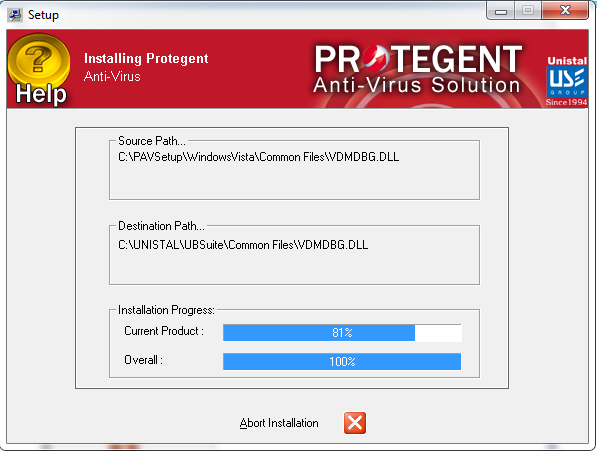
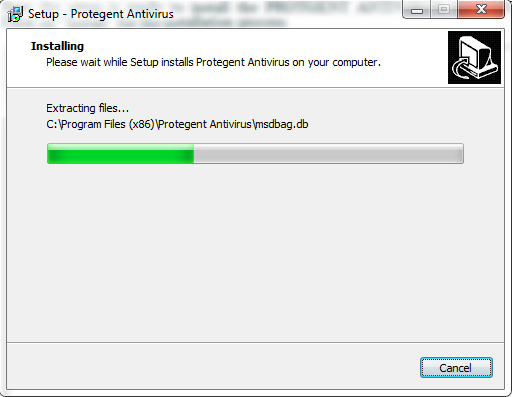
Step 13: The installation progress will display as a green progression bar as shown in the screen below.
Step 14: Protegent’s mascot “Proto” on the left bar confirms that installation has been successfully completed and ensures you with the “Finish” setup wizard.
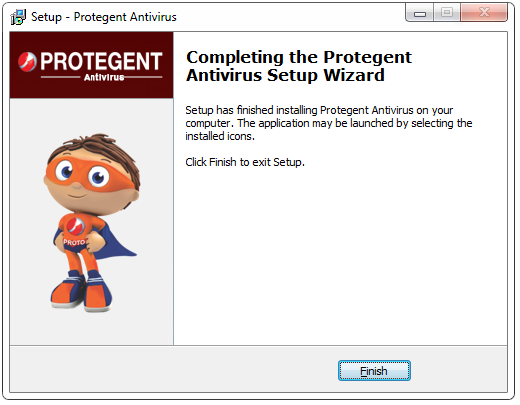
Step 15: Click on “Finish” to complete the process. With this the installation task has been completed.
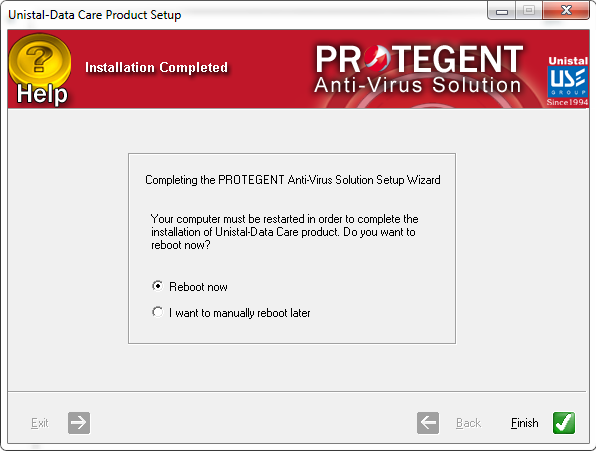
After Installation is completed, Setup will ask user to reboot now or later. We recommend that user should select reboot now and click in finish. By rebooting the system all the services of antivirus solution is enabled.
Step 16: After installation is completed, PROTGENT ANTIVIRUS SOLUTION will show a message of license expiration as follows:

Step 17: REGISTERING PROTGENT ANTIVIRUS SOLUTION
Please click on License button on the top right hand corner in order to register PROTGENT ANTIVIRUS SOLUTION.
It will display the License registration page as shown below.
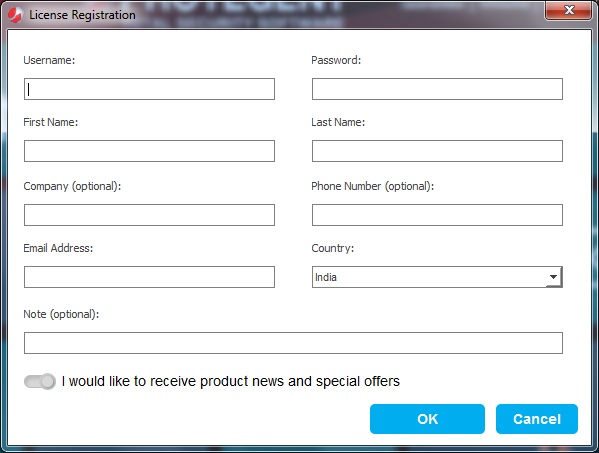
Step 18: Copy and paste the license number under username tab and password in password tab accordingly.
Then go ahead and fill-in the details and click on ‘ok’ to complete the registrations process.
Once done it will activation your license accordingly.
Please Note: Restart the system after installing “PROTGENT ANTIVIRUS SOLUTION” in order to get the registry updated and work fine without any issues.
